These utilities should be in your [$PATH](https://stackoverflow.com/questions/44272416/how-to-add-a-folder-to-path-environment-variable-in-windows-10-with-screensho#44272417) :
* [img2tim](https://github.com/Lameguy64/img2tim) : convert image to psx TIM - Win32 pre-built bin : https://github.com/Lameguy64/img2tim#download
* [wav2vag](https://github.com/ColdSauce/psxsdk/blob/master/tools/wav2vag.c) : convert WAV to psx VAG - Win32 pre-built bin : http://psx.arthus.net/tools/wav2vag-win32.zip
* [psxavenc](https://github.com/ABelliqueux/candyk-psx/tree/master/toolsrc/psxavenc) : convert WAV to psx XA - Win32 pre-built bin : http://psx.arthus.net/sdk/candyk-psx-tools.zip
* [xainterleave](https://github.com/ABelliqueux/candyk-psx/tree/master/toolsrc/xainterleave) : interleave psx XA files - Win32 pre-built bin : http://psx.arthus.net/sdk/candyk-psx-tools.zip
Open a working copy of your scene, add the needed [flags](https://github.com/ABelliqueux/blender_io_export_psx_mesh/wiki/Flags) and export your level in the `3dcam-headers` folder.
Following [those steps](https://github.com/ABelliqueux/3dcam-headers#compiling), you should now see your scene running on PSX !
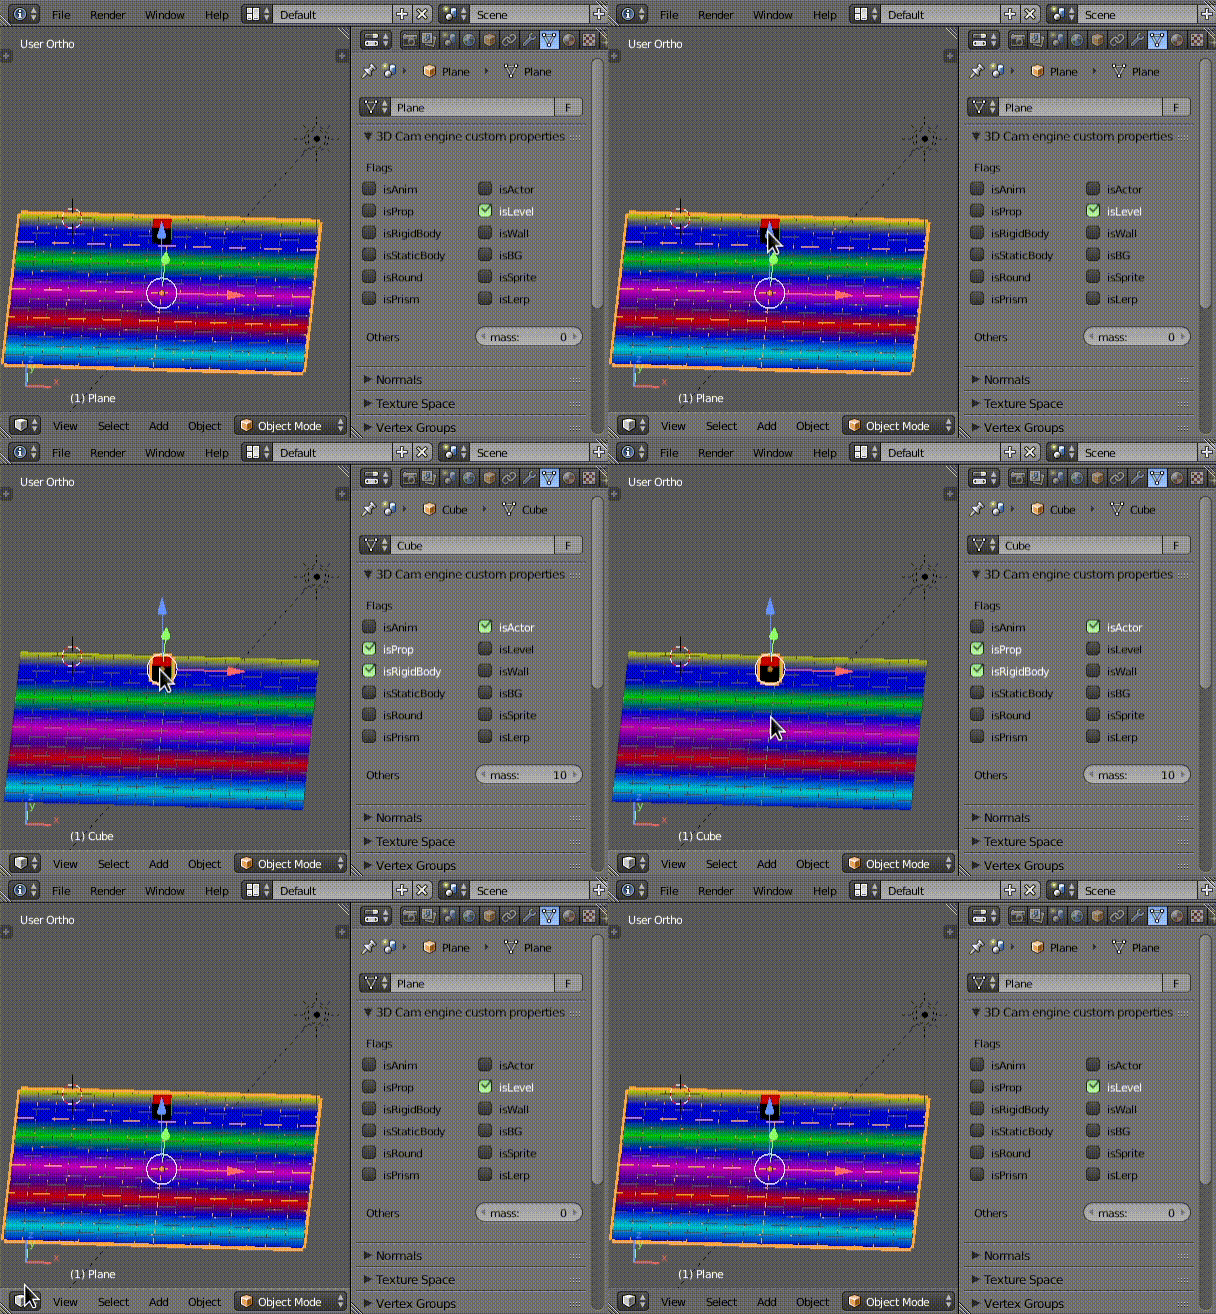
A [small blender addon](https://github.com/ABelliqueux/blender_io_export_psx_mesh/blob/main/3dcam-engine-helper.py) is provided that facilitates setting and copying [flags](https://github.com/ABelliqueux/blender_io_export_psx_mesh/wiki/Flags) between several objects in your scene.

See [the documentation](https://github.com/ABelliqueux/blender_io_export_psx_mesh/wiki/Flags#3dcam-helper) for usage instruction.
**The script only does the job of creating/updating the object's custom properties, so it is not mandatory to use it.**