3dcam PSX engine
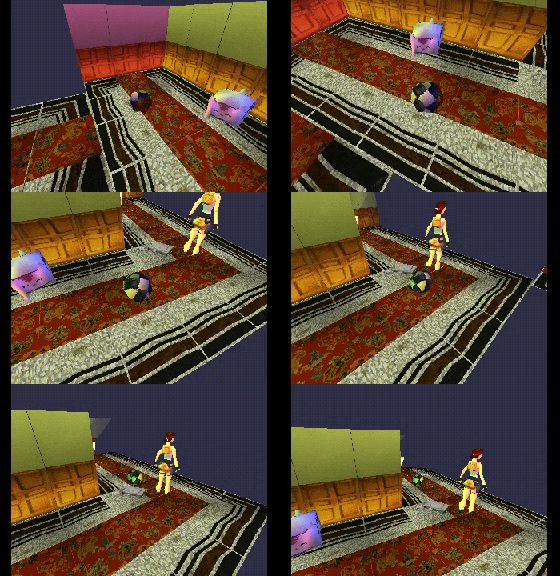
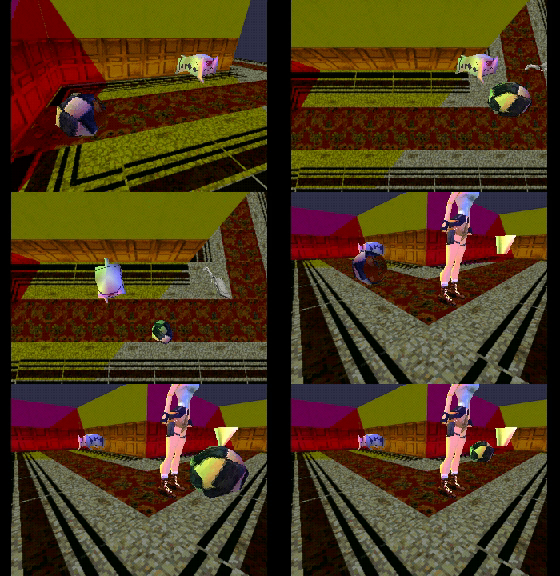
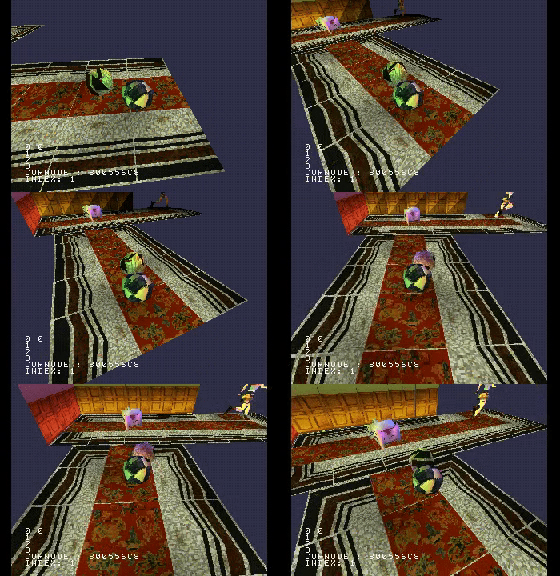
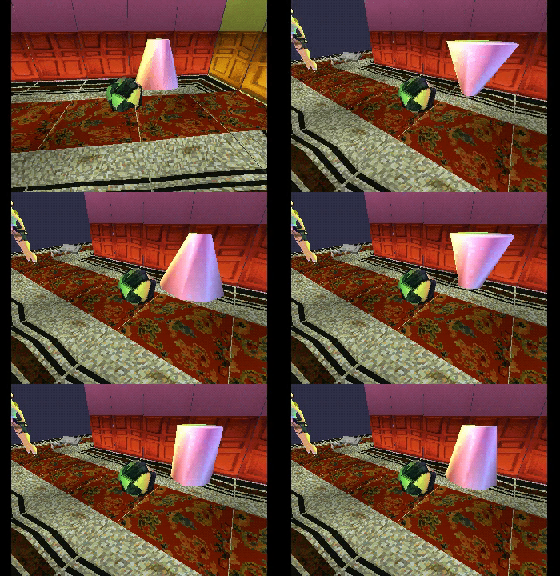
This a WIP PSX 3d engine. Use this with the companion blender exporter to create levels for the engine.
More video samples here.
Features
Be warned this is WIP !
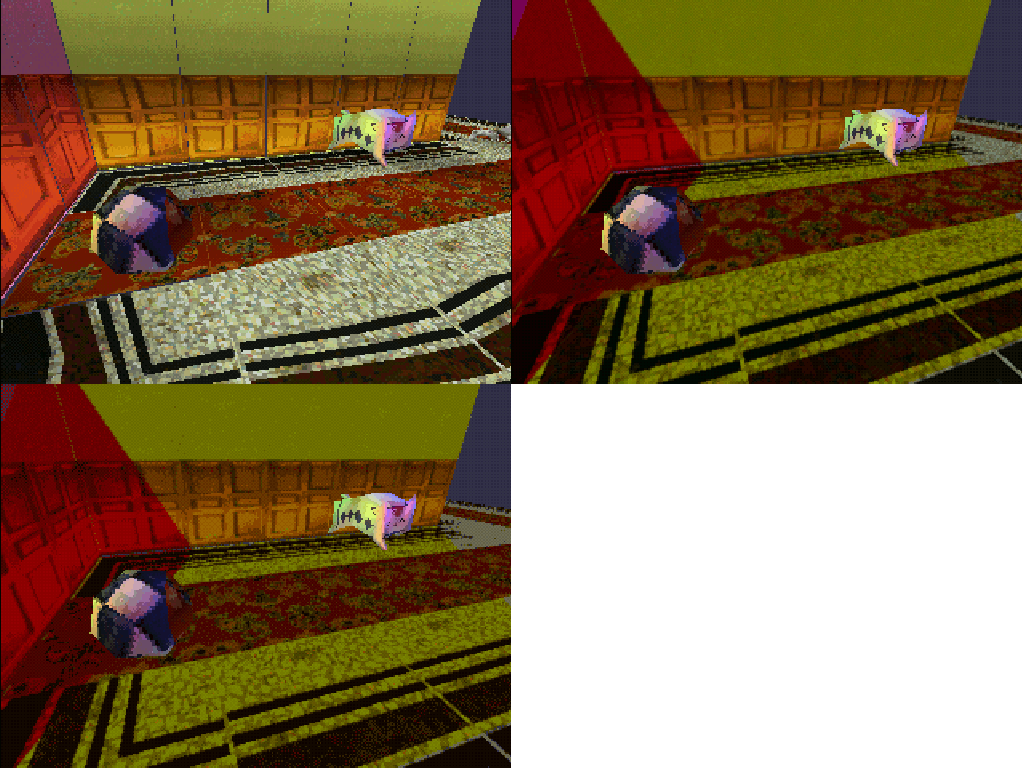
Real-time 3D / 8bpp background / 4bpp background
"Engine"
- UV textured models
- Vertex painted models
- Multiple camera modes
- Vertex animations
- Up to 3 light sources
- Use pre-rendered backgrounds (8bpp and 4bpp)
- Basic collisions
Demo Controls
- L1, L2 : rotate light matrix.
- R1 : Change camera mode.
- R3 (Dualshock) : Rotate camera in orbital mode.
- Up, Down, Left Right, L3 (Dualshock) : Move actor.
- X : "Jump" .
- Select : Switch level.
Planned
- Fix and improve all the things !
- Wall collisions
Compiling
You need to install mkpsxiso and the Nugget+PsyQ SDK before
you can build the engine. Put mkpsxiso and pcsx-redux in your $PATH and you should be good to go.
- Clone this repo in your nugget+PsyQ folder as a new project :
git clone https://github.com/ABelliqueux/3dcam-headers --recursive my-project
- Navigate to that folder in a terminal :
cd my-project
- Type
./isotest.sh. This should compile the example, build an iso withmkpsxisoand launch it withpcsx-redux.
If you'd rather do things manually or are using Windows, this script does 3 things:
*make: compile the project
*mkpsxiso -y config/OverlayExample.xml: create the bin/cue disk image
*pcsx-redux -run -iso OverlayExample.cue: run the disk image in the pcsx-redux emulator.
On first launch, pcsx-redux will ask for a PSX bios. You can use your own or the open source OpenBios.
A prebuilt binary is available here for convenience.
Set it in pcsx-redux ; Configuration > Emulation, then reboot the emulator ; File > Reboot.
- Install the blender extension to create your own levels.
Trying on real HW
If you have a real PSX, a cart flashed with Unirom and a Serial/USB cable, you can upload the demo to the PSX memory with NOTpsxserial.
The engine can use overlays to load data in the psx memory, so as opposed to a 'classic' project where you can just load the psx-exe in ram, we first have to load the data to a specific address, then load the exe.
First, comment out line 28 in main.c, so that the PSX won't look for the data on a CD :
// #define USECD
The address we have to load the data to is defined by the 'load_all_overlays_here' symbol in main.map.
The provided ovly_upload_helper.sh bash script takes care of finding that address depending on the ps-exe name.
Thus, to load Overlay.lvl1 and main.ps-exe in the psx ram, use :
./ovly_upload_helper.sh Overlay.lvl1 main.ps-exe /dev/ttyUSB0
Credits
PSX code based on example by Lameguy64
An incredible amount of help from the good fellows at the psxdev discord,
Including but not limited to @NicolasNoble, @Lameguy64, @Impiaa, @paul, @sickle, @danhans42...
